How to Convert Autodesk ReCap Data into LAS Files for Viewing in Vismo (or Anywhere Else)
If you're working with Autodesk ReCap and need to visualise your point cloud data in an online viewer like Vismo, you'll likely need to convert it into a more web-friendly format like LAS/LAZ. Fortunately, this process is straightforward and can be done with free tools. Here’s how you can do it step by step.
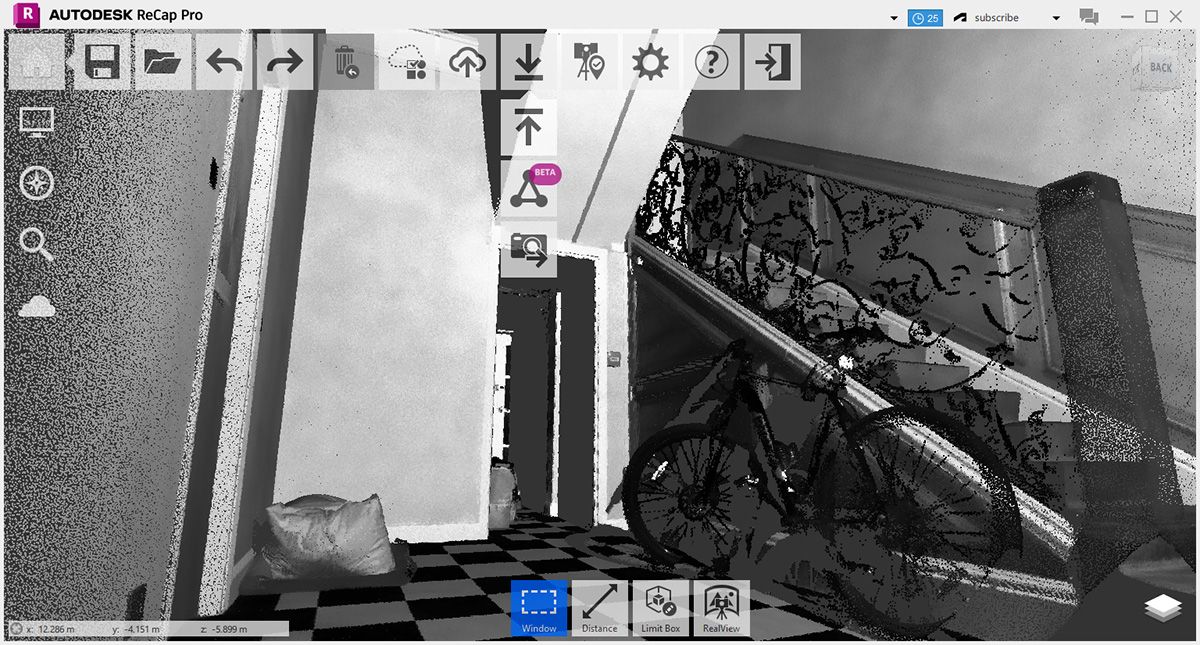
Step 1: Open Your Source File in Autodesk ReCap
Before you can export anything, you’ll need to open your source file in ReCap. If you don’t have a licence, Autodesk offers a free trial, which you can use to access the necessary features.

Step 2: Export as an E57 File
ReCap doesn’t let you export directly to LAS, but it does allow you to save as an E57 file, which is a widely accepted open format for point cloud data.
- In ReCap, go to Home > Export (or press Ctrl+E)
- Choose .e57 as the save format and export your data
What is an E57 file?
The E57 format (ASTM E57) is a vendor-neutral point cloud format that retains structured information such as colour and intensity. It’s widely used for transferring point clouds between software while maintaining high fidelity.
Step 3: Install CloudCompare (Free and Open Source)
Now that you have an E57 file, you’ll need to convert it to LAS using CloudCompare, a powerful and free open-source tool (it really is awesome 💪).
Once installed, open the software and load your exported .e57 file.
Step 4: (Optional But You Probably Should) Subsample Your Point Cloud
Many reality capture datasets are too dense 🏋️ for web-based viewers to handle efficiently. If your point cloud contains tens or hundreds of millions of points, it’s best to reduce the density before exporting to LAS.
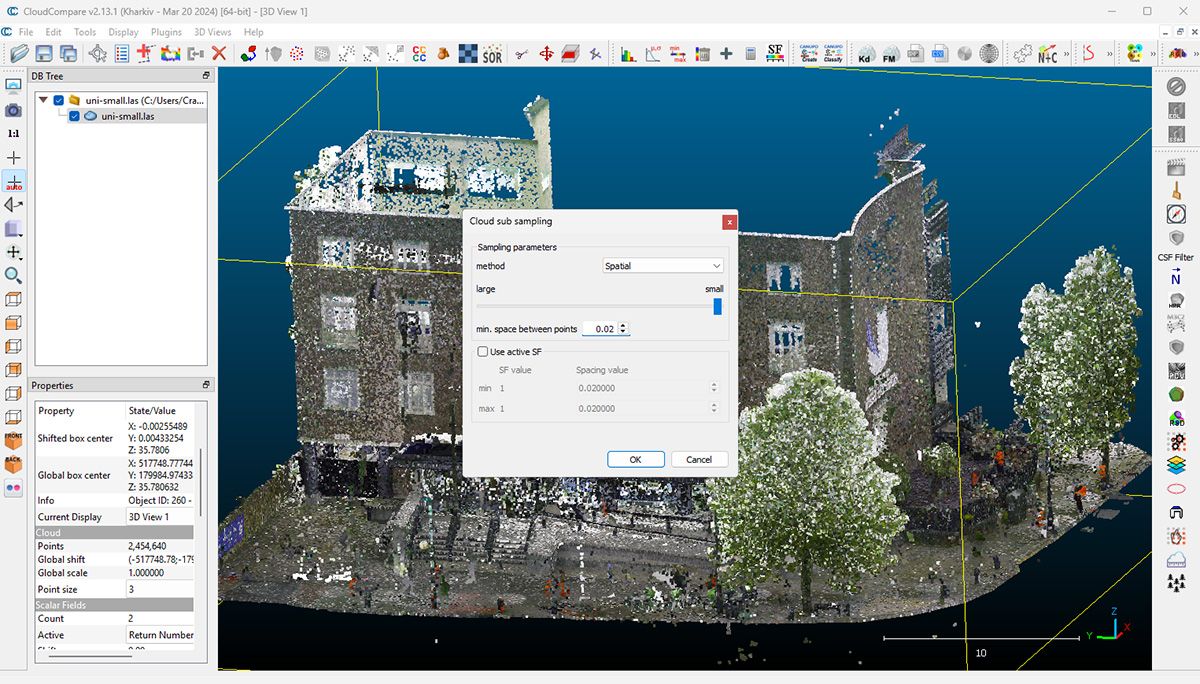
- In CloudCompare, select the E57 file in the viewer or DB Tree panel
- Go to Edit > Subsample
- Set the Min space between points to a sensible value (e.g. 0.02 - 0.005) depending on the scene’s density

How much subsampling is needed?
A good rule of thumb is to aim for around 1 million points. This will keep the file light enough for smooth rendering on the web whilst maintaining decent visual quality.
Step 5: Set Colours to RGB
Before exporting, make sure your point cloud retains its colour information:
- In the Properties panel, set Colours to RGB
This ensures that your exported LAS file keeps the original colour data, making it easier to interpret visually.
Step 6: Export as a LAS File
Now that your data is optimised for web viewing, you can export it to LAS:
- Go to File > Save
- Select .las or .laz (compressed LAS) as the save format
- Leave the save options at their default settings
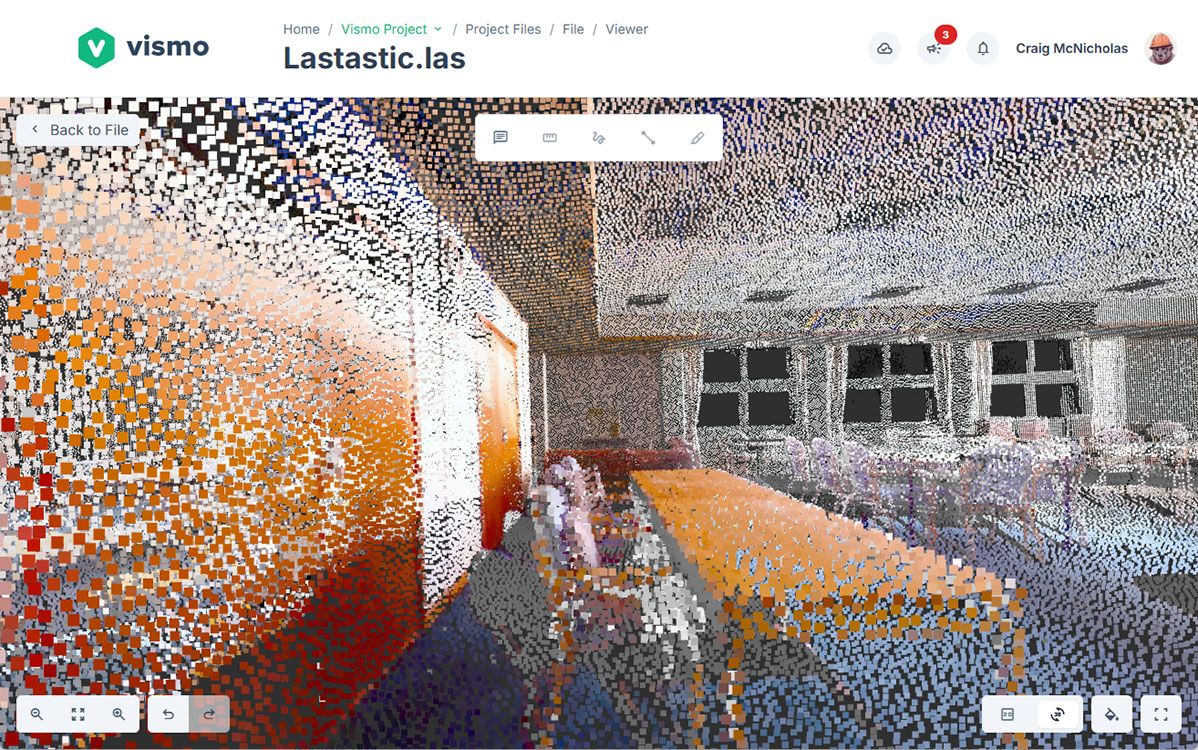
Once saved, your LAS file is ready to be used in Vismo (or any other compatible viewer, but we're biased...).
Step 7: Upload to Vismo (or Your Viewer of Choice)
Now comes the fun part—visualising your data! Simply upload your LAS file to Vismo, and you’re good to go.
💡 Pro Tip: Try experimenting with different subsampling values. A lower value keeps more points (higher detail but slower performance), while a higher value reduces file size for a smoother experience.

Final Thoughts
Converting ReCap data to LAS isn’t just useful for Vismo. It also allows you to bring point cloud data into other tools that support LAS files. With this simple workflow, you can make high-resolution scan data accessible to your team, no expensive CAD software required.
Got any questions or need help? Reach out to us - we love geeking 🤓 out over point clouds! 🚀
